Drag Element
In this section, we will guide you on how to use the Drag Element block.
Use Cases
The Drag Element block moves an element along a smooth path and releases it at a coordinate or over another element. It is useful when a website expects a drag gesture instead of a click.
Common use cases:
- Move a card between columns in a Kanban board.
- Reorder items in a sortable list.
- Drop an element into a page area or container at a specific location.
- Interact with custom drag-and-drop components or canvas-based interfaces.
How to Use
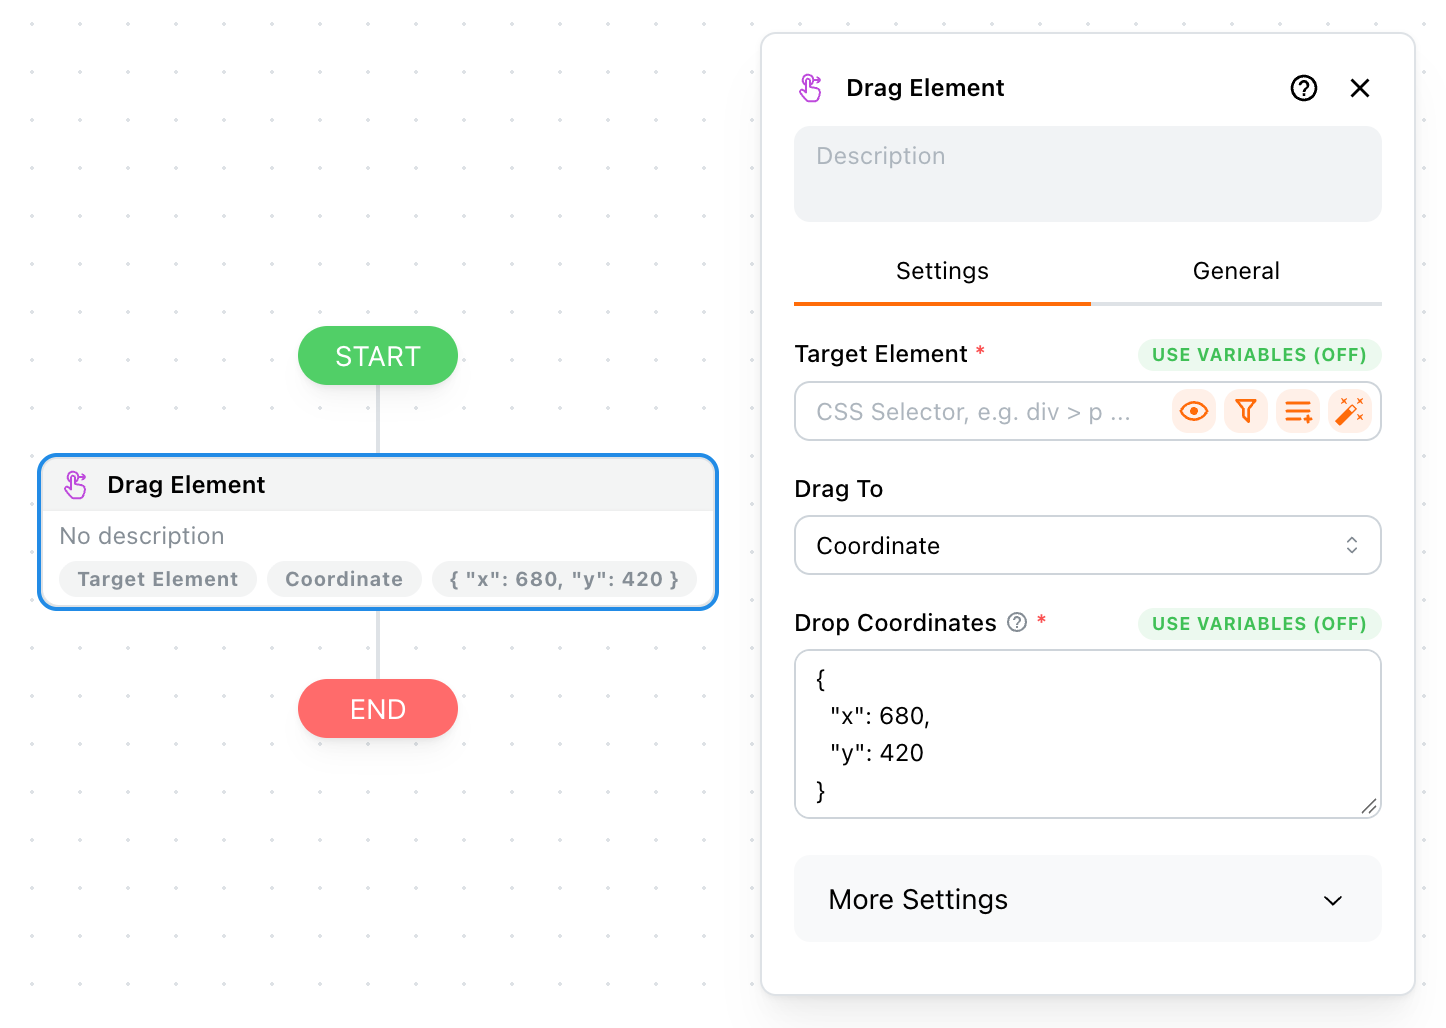
Add the Drag Element block to your workflow and set the element to drag. The source target is required.
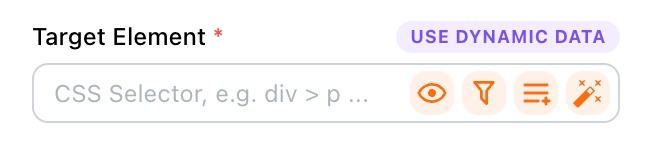
The target element uses a CSS Selector. You can enter a selector manually or use Template Syntax for a dynamic target. Multiple target candidates are supported; Tapicker uses the first available candidate. For more information, refer to the Target Element section.
Drag To
The Drag To option determines where the source element is released:
- Coordinate: Release the element at a coordinate in the current frame's viewport.
- Element: Release the element over another visible element in the same frame.
Drop Coordinates
In Coordinate mode, enter a JSON object containing the destination coordinates:
{
  "x": 680,
  "y": 420
}
Coordinates are relative to the current frame's viewport. They are not document coordinates or screen coordinates. You can also use Template Syntax:
{{$vars.dropCoords}}
The value is kept as a string in the editor and parsed when the workflow runs. The resolved value must be an object with finite numeric x and y properties. Empty or invalid values cause the block to fail at runtime. Coordinates outside the available viewport are clamped to the viewport.
Drop Target Element
In Element mode, set one or more destination elements. The first available candidate is used. The source and destination must be in the same frame, and the destination must be visible when the block runs.
The final point is selected within the visible area of the destination element. Tapicker does not scroll the destination element after the drag has started.
Drag Path
Tapicker automatically generates a smooth quadratic curve from the source element to the destination. Intermediate coordinates are generated at runtime, with easing and small variations to make the movement less mechanical. The final coordinate is kept inside the viewport or destination element bounds.
You do not need to enter the intermediate path manually.
More Settings
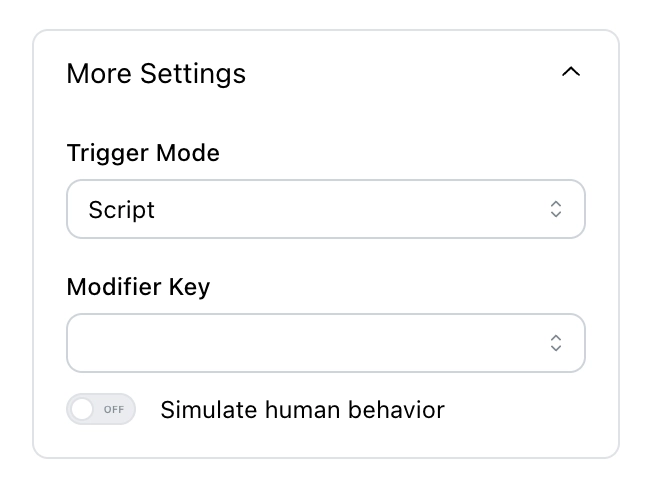
In More Settings, you can choose the trigger mode, modifier keys, and whether to simulate human behavior.
Trigger Mode
You have two trigger modes to choose from:
- Script: Dispatches synthetic pointer, mouse, and drag events along the generated path. It is lighter and faster, but it cannot fully reproduce the browser's internal drag state.
- Debugger: Uses Chrome DevTools Protocol mouse input with the left button held while moving through the path. It is closer to real browser input and is more compatible with native HTML5 drag-and-drop and pointer-based drag libraries.
Which Should I Choose?
Start with Script for pages that respond to synthetic events. Use Debugger when:
- The page requires native HTML5 drag-and-drop behavior.
- The page ignores synthetic pointer or drag events.
- The drag library depends on real pointer state or Pointer Capture, such as newer pointer-based drag implementations.
Debugger mode requires a debugging session and may display a browser debugging indicator while the workflow is running.
Modifier Key
You can hold down modifier keys throughout the drag. The following keys are available:
⇧ Shift:Shifton Windows.⌃ Control:Ctrlon Windows.⌥ Option:Alton Windows.⌘ Command:Winon Windows.⌘ Command ↔︎ Control: Cross-platform compatibility—⌘ Commandon macOS andCtrlon Windows.
Modifier keys are included in the generated drag events and browser-level input.
Simulate Human Behavior
This option is available only when the trigger mode is set to Script. When enabled, Tapicker:
- Scrolls the source element into view before calculating the drag path.
- Moves the simulated cursor to the source element before pressing the button.
The destination element is not scrolled after the drag begins. Debugger mode always performs the interactive source preparation, so this option has no effect there.
FAQ
Why did the drag have no effect?
Check that the source element and, in Element mode, the destination element are correctly configured and visible. If the page ignores synthetic events, switch the trigger mode to Debugger.
Why does Script mode fail with a modern drag-and-drop library?
Some newer pointer-based drag libraries depend on browser-managed pointer state or Pointer Capture. Script mode creates DOM events but cannot create a real browser pointer session. Use Debugger for these pages.
Can I drag across frames?
No. The source and destination must be in the same frame.
Why was my destination coordinate changed?
Coordinates outside the current viewport are clamped to the available viewport area. In Element mode, the final point is also constrained to the visible area of the destination element.
Why is my browser showing a debugging message?

This happens when you select Debugger as the trigger mode. Chrome enables a debugging session to send browser-level mouse input. If you manually cancel it, the workflow will fail. Normally, the debugging session closes after the workflow completes.