Workflow Editor
In this section, you will learn how to use the workflow editor.
The Workflow Editor is a key component of Tapicker. It's a completely visual, no-coding, meaning you don't need any programming skills to get started.
How to open it?
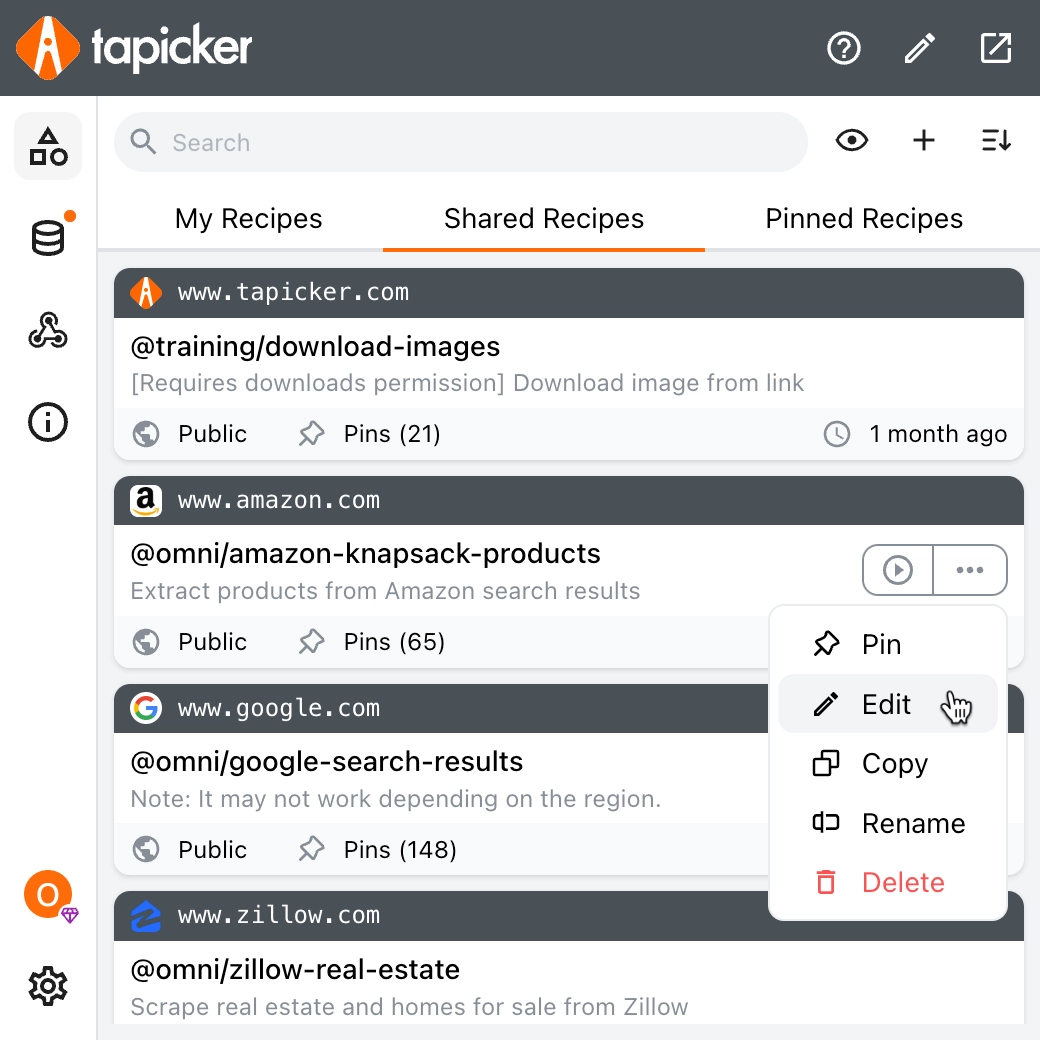
There are two ways to open the Workflow Editor:
- Click the pencil icon to create a workflow
- Edit a workflow
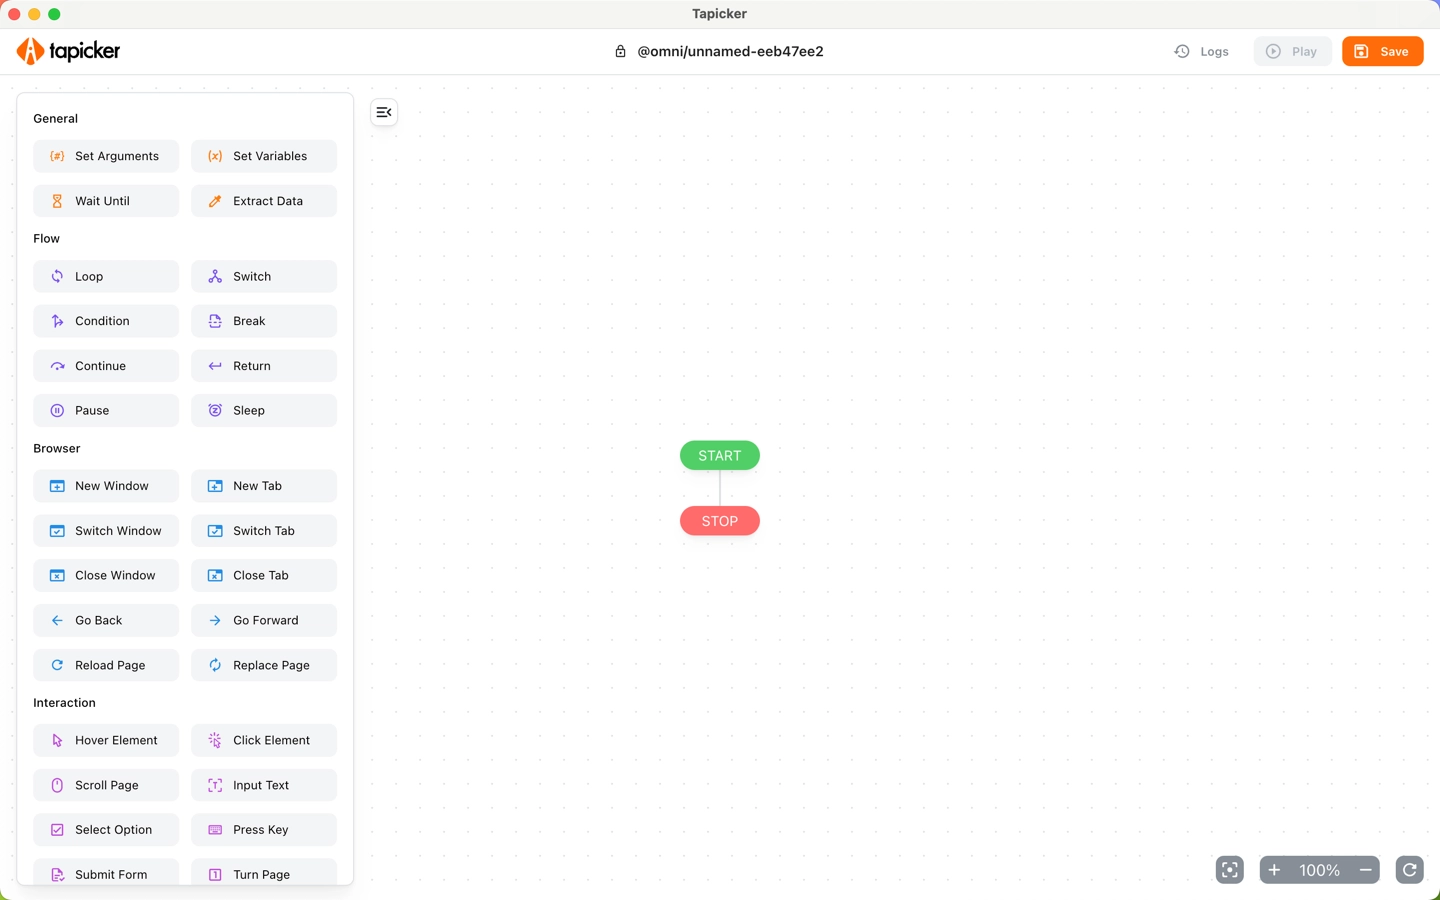
Here’s what the workflow editor looks like.
Add blocks to workflow
Hover over the left-hand block, drag it to the desired location on the canvas to add it.
Move the workflow
You can move the workflow by scrolling or dragging it.
Zoom the workflow
Hold down the Command (or Ctrl) key and scroll the mouse wheel to zoom the workflow.
Set up Block
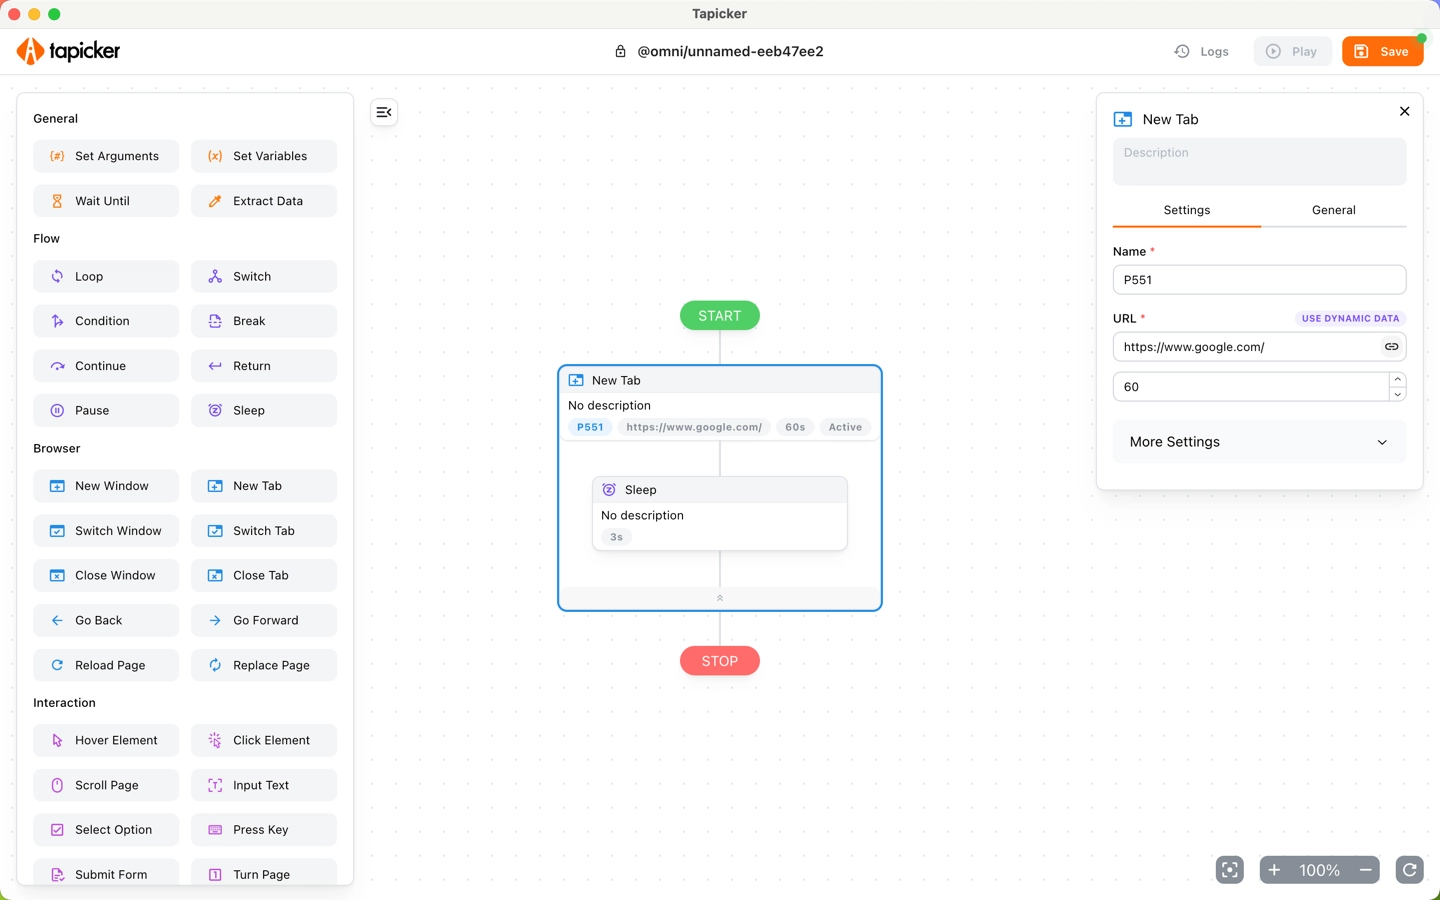
Click on a block within the workflow to open the settings panel. Clicking on it again will close it.
Move the Block
Hover over the block's move icon and drag it to move the block.
Copy and Paste Block
Copy and Paste blocks across projects using Ctrl + C (Command + C for macOS) and Ctrl + V (Command + V for macOS)!
Rename Workflow
Click on "@omni/unnamed-eeb47ee2" in the top toolbar to rename.
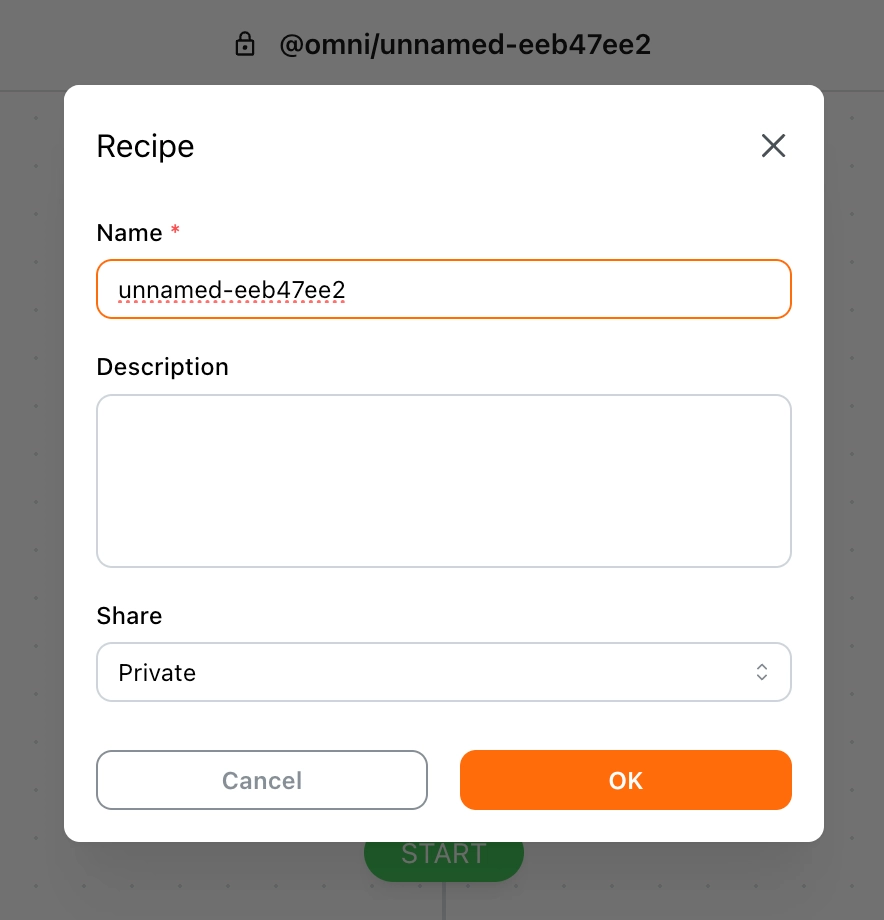
Save Workflow
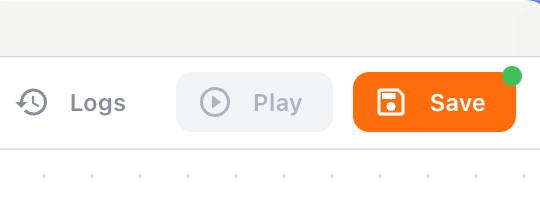
When you make changes to the workflow, a green dot will appear on the save button to indicate unsaved changes. Click the button to save your workflow.
View Logs
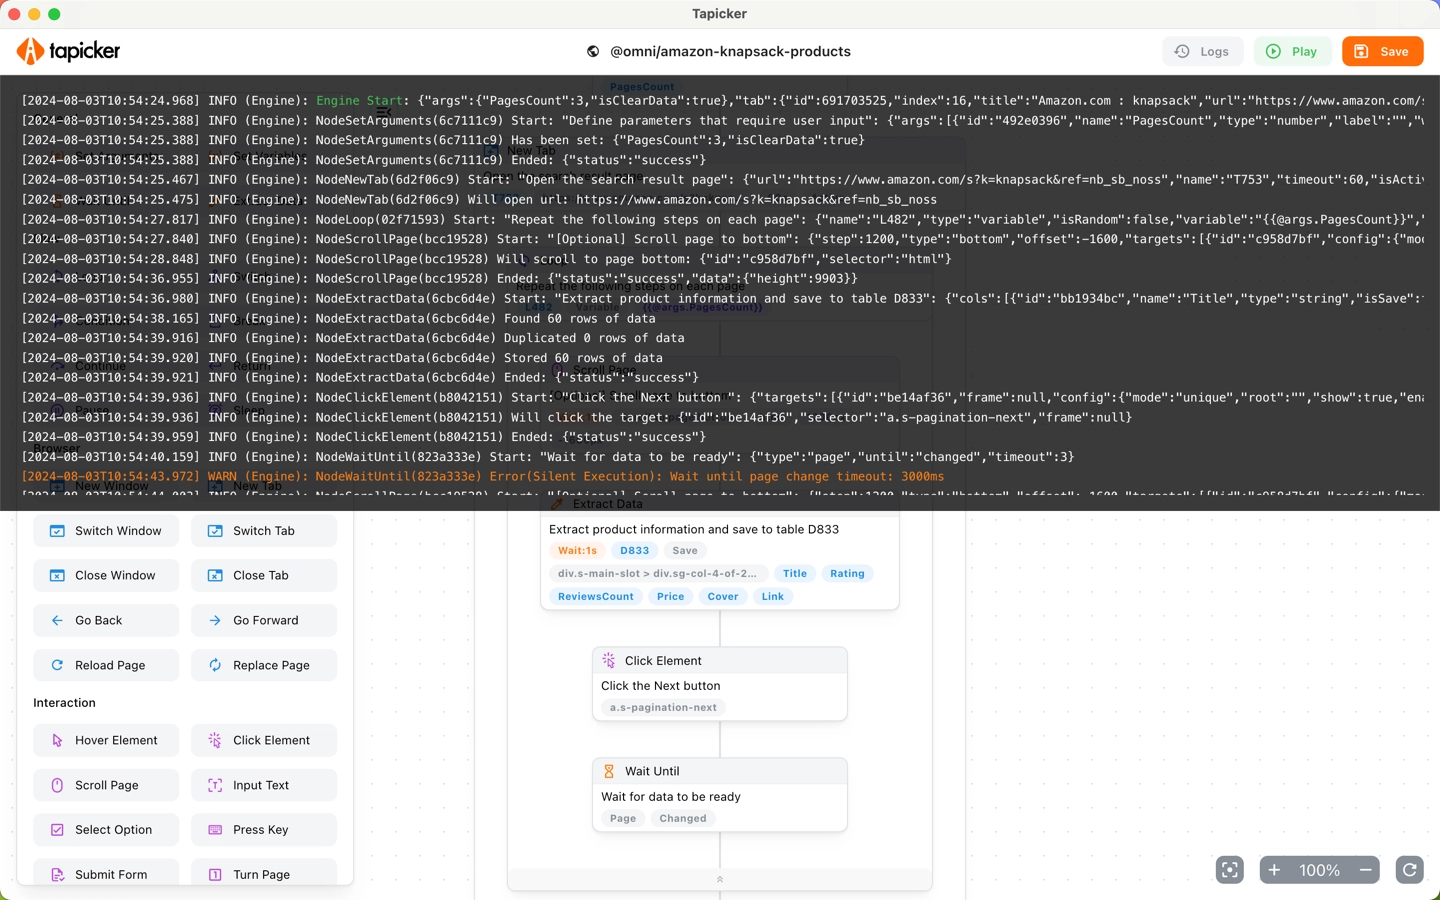
Click the "Logs" button in the toolbar to view the logs. Only the latest log is retained. To prevent memory overflow, if the log exceeds 1500 lines, only the first 500 lines and the last 500 lines will be kept.