Capture Screen
In this section, we will guide you on how to use the Capture Screen block.
Use Cases
The Capture Screen block is used to take screenshots of a webpage. It supports capturing the visible area, the full page, or an element.
Captured images can be saved directly to your computer or assigned to a variable for later use in the workflow.
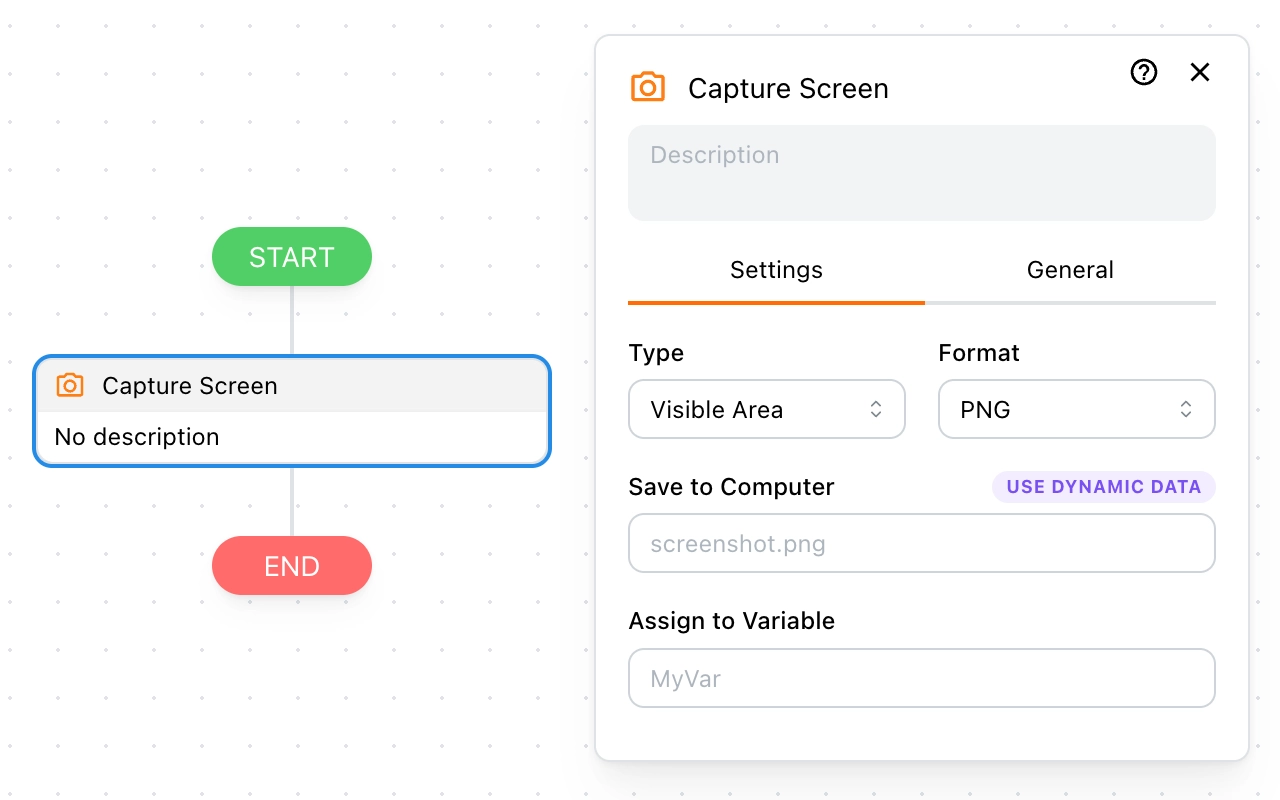
Type
The type of screenshot to capture:
- Visible Area: Only the currently visible part of the page.
- Full Page: The entire webpage, including areas outside the viewport.
- An Element: A specific element on the page.
Format
The image format to save the screenshot:
- PNG (takes up more memory)
- JPEG (default quality is 80%)
Save to Computer
(Optional) Enter a filename (e.g., screenshot.png) to automatically download the screenshot to your device. You can use dynamic data in the filename.
Assign to Vairable
(Optional) Assign the screenshot's file data (Base64 format) to a variable for further use in the workflow.
Notes
- If a filename is provided, the screenshot will be automatically saved to your computer.
- If assigned to a variable, you can later use it in actions like uploading, sending via API, or further processing.
- JPEG quality defaults to 80% to balance file size and image quality.